When I proposed the idea of building an elevator my son did not know where to start. So we explored the internet, saw some designs, but no building plan or instructions were found.
Then we stumbled upon Linda Hamilton's site: http://www.marshall.edu/LEGO/lessonplans/Elevator09/Elevator.html

So there was a design we wanted to build!
We contacted Linda, and she was so kind to share her design with us using Lego Digital Designer (very nice tool!).
So with a few tweaks we built the elevator:


And it works!
Now it was time to let the Raspberry Pi control it!
We needed to create some special Lego bricks, like a connector for the motor:

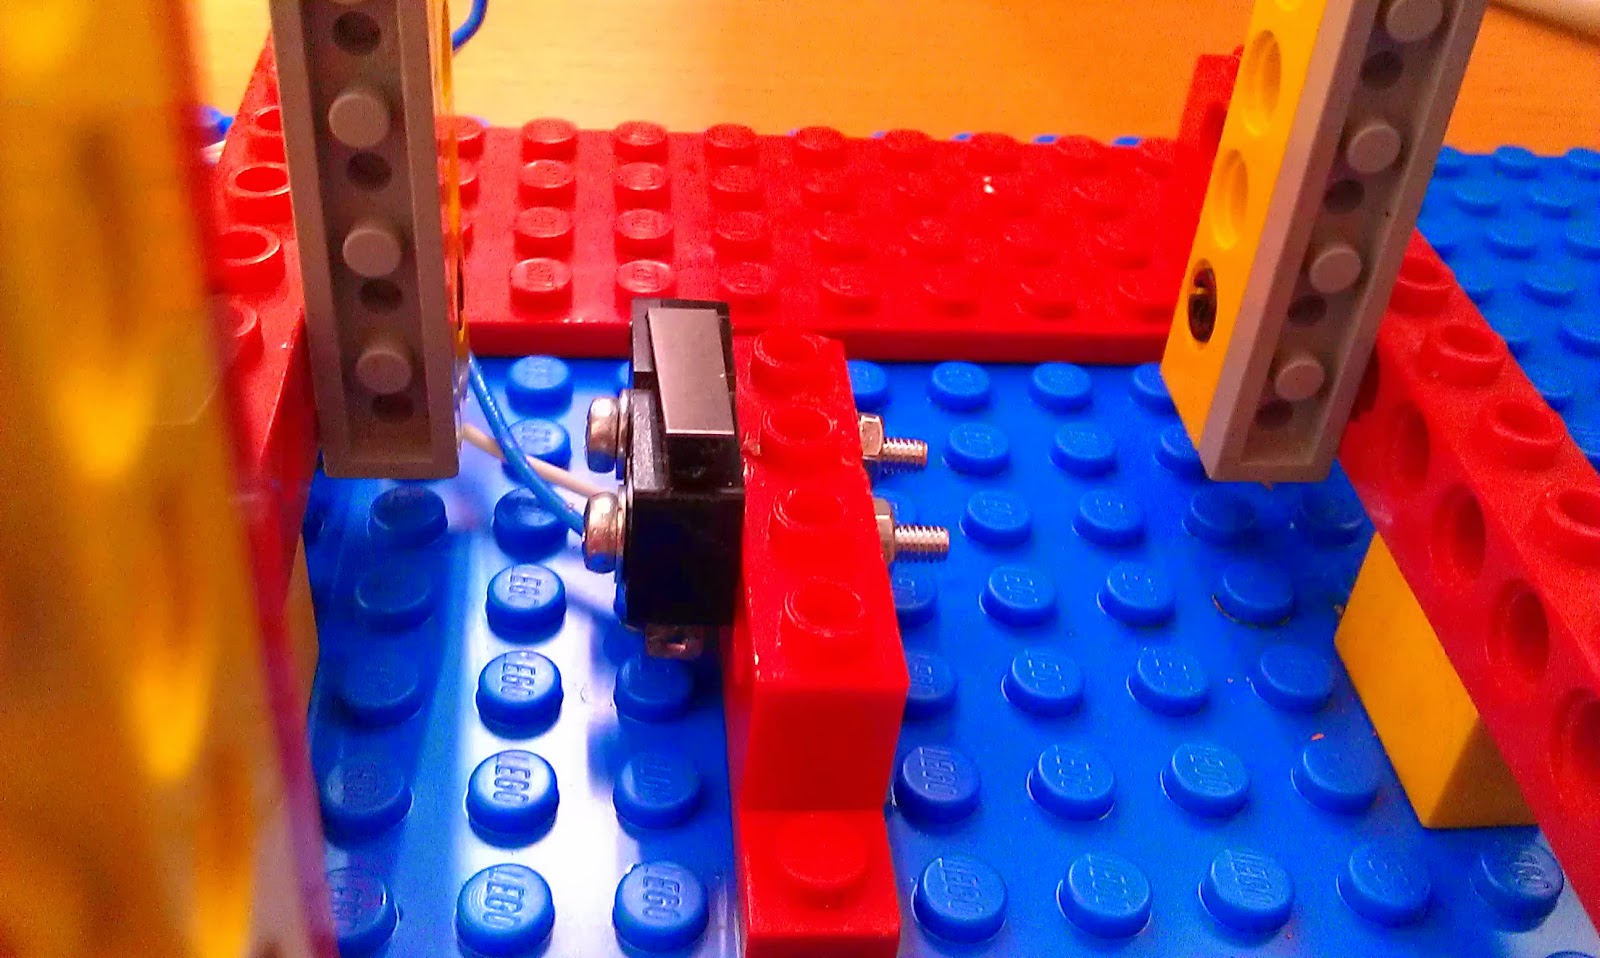
And the microswitches:

So now we hooked it all up. We fitted the switches at the bottom:
And at the top:

Added a relay switch to be able to inverse polarity and direction of the motor:

Connected the motor:

And then connected it al to the PiFace:

Now it was time to do some programming:


And this is the result:
Thanks for reading, and special thanks to Linda Hamilton for the design!!
--- edit 16 june 2013 ---
As you might have noticed, at the top the engine forces the elevator to tilt a little before the elevator stops. I assumed it was because of the slow perfomance of scratch, so I tried programming in Python. To my surprise, it made no difference.
So I took a closer look at the mechanical construction, and modified the wheels:

Now the elevator cage is moving smoother and when at the top the switch is pressed earlier, resulting in almost no tilting:
The python script:


I noticed that the Raspberry Pi still takes up 100% processor usage, probably caused by the while True loop?